Learn how to start your first project
In this post you find a short guidance for the first steps with your new Smart Textiles Kit.
Textiles combined with electronics and IT know-how. This leads us to Smart Textiles. The objective from WEARIC is to give you an easy understanding how this combination works and how you can get the best out of it for your unique projects.

The textile sensors work with the WEARIC expansion board, which is included in the Smart Textiles Starter Kit. To tell the sensors what they have to do and how they should work, you have to programme a nano controller board. If this is new for you – don’t worry we will guide you through it step by step. If this is just basic for you feel free to skip it .
Requirements:
- WEARIC Expansion Board
- nano controller V3.0 Atmel Atmega328
- Software Arduino IDE (https://www.arduino.cc/en/Main/Software)
- micro USB wire
- Heating Textile
Get started with your Smart Textiles kit
1. Connect the nano controller V3.0 with the mini USB to your laptop.
2. In order to programme the nano controller you need the Arduino IDE software.
IDE stands for integrated development environment and is a piece of software where you can create your code and download it to the nano board. You can download this software here: https://www.arduincc/en/Main/Software.
When the download is finished, you can run the setup and install the IDE on your computer. After installing please open the Arduino IDE software and you will see the following window:

3. Start with programming the nano controller:
Basically the code can be divided into two main sections:
The first one (setup) will be run once at the beginning, when the microcontroller powers up and tells the main functionality what the sensor should do in future (e.g. pin modes, start of serial interface,…)
The second one (loop) will be executed permanently in a loop. In the loop mode you can put the main code, that runs repeatedly, for example analog pin reading, sending to serial interface, toggling pin states and many more.
It is advisable to place constant definitions at the top of your code. So you can give values a name. For example you can use LED1_PIN instead of typing the value. You can do this by writing “#define LED1_PIN 12
4. Place a programming code in the software.
Let’s start with an easy example using the textile heating and get it warm. Please place the following code into your Arduino IDE software:
#define HEAT_PIN 12

void setup() {

// put your setupcode here, to run once:

pinMode(HEAT_PIN, OUTPUT);

digitalWrite(HEAT_PIN, HIGH);

}

void loop() {

// put your main code here, to run repeatedly:

}

5. Sending the programmed information to your nano controller:
First of all you have to choose what kind of controller you are using. Therefore please go to “Tools” in the main menu – Board: – and select the nano controller

After you have selected the right controller define the USB Port where your nano is plugged in. If you are not sure which port you are using please look it up in your device manager on your laptop. If you don’t find the USB Port in the device manager you should install the driver for the ATMEGA340. You will find the driver with the following Link: https://sparks.gogo.co.nz/ch340.html

Once everything is selected press the button “upload”: ![]()
6. We are almost done!
Place your nano controller on the WEARIC Expansion board and connect the heating textile with the WEARIC Expansion board.
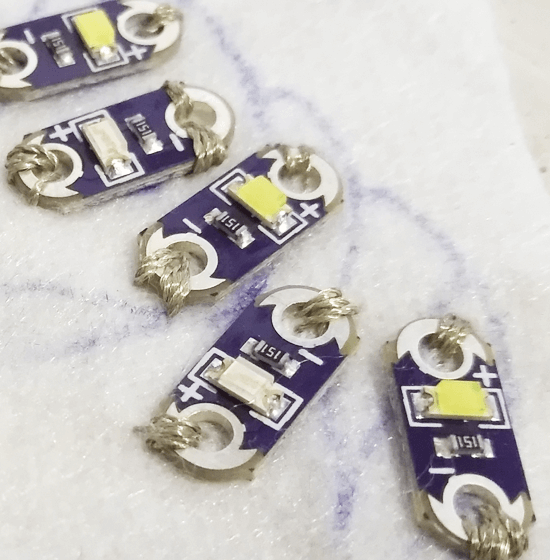
At each side of the Expansion board there are one or two icons which show which sensor has to be connected at this place. You can find these icons also on the textile sensors and it indicated you were which sensor has to be placed.
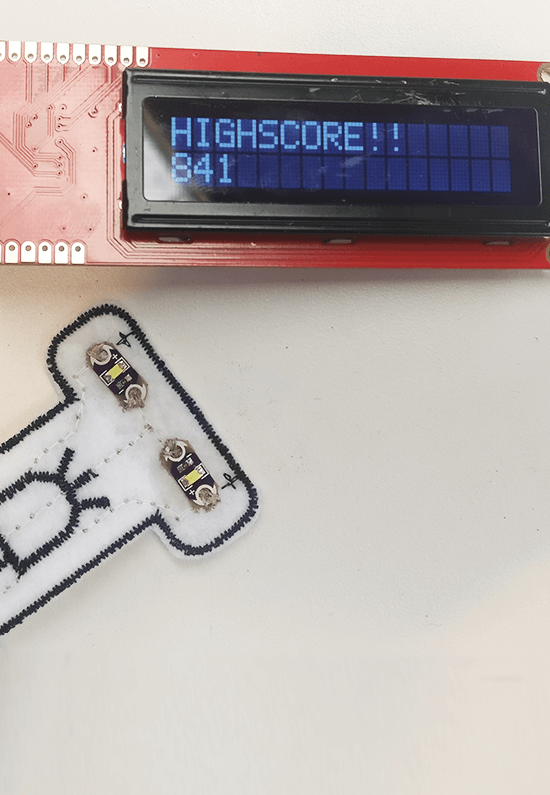
Have fun in testing your first Smart Textile! Do it!

If you would like to have even more information on how to use and programme your nano we can recommend this link to get a full overview: https://www.arduino.cc/en/Guide/Environment